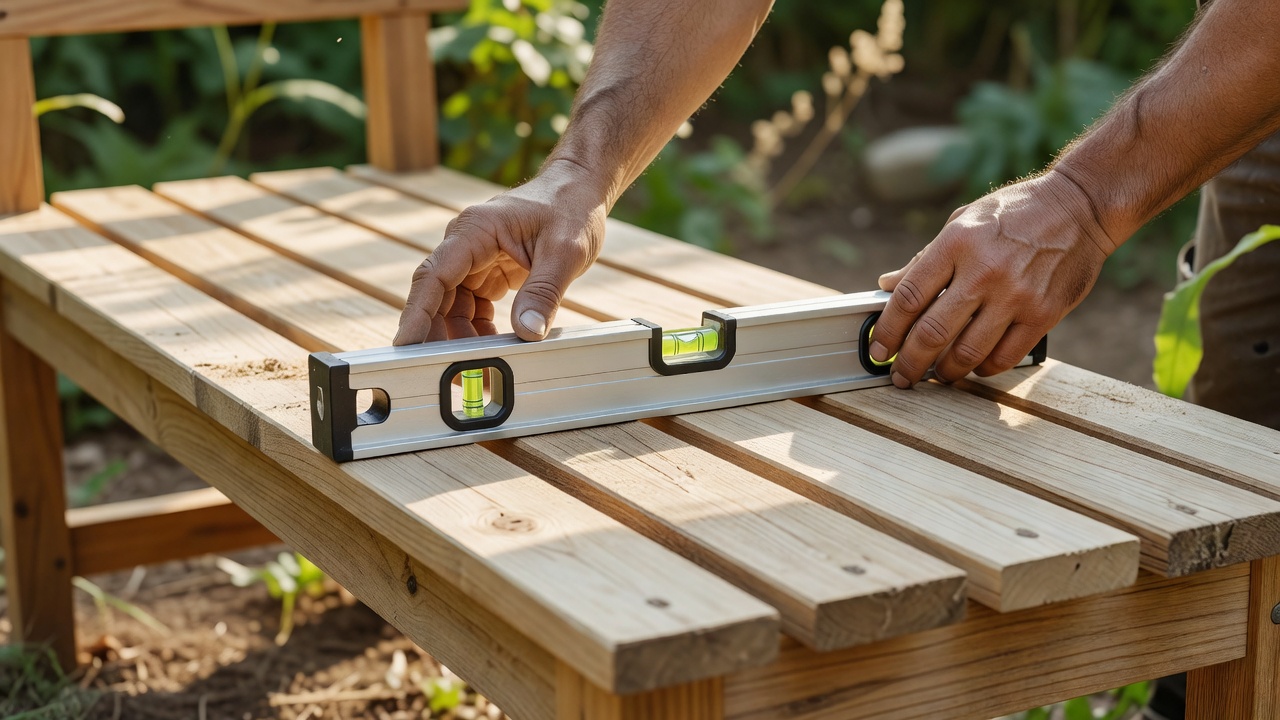
Start with the spot, not the plan
Before you buy a single board, spend ten minutes sitting where the bench will go — an upturned crate is fine. Notice where the sun is at the time you would actually use the seat, whether the ground is level, and whether rain sheets off a roof edge nearby. Those observations choose the design for you:
- Backless slatted bench — the best first build. Around 1,200 mm long, light enough to move, no awkward back angles.
- Storage bench — a hinged lid seat that hides cushions, kneeling pads and gloves. Needs a little more accuracy around the lid.
- Fold-down wall bench — ideal for narrow side returns. The fixings into masonry matter more than the joinery.
- Tree-surround seat — a hexagonal ring. Leave at least 100 mm of growth space and never fix anything to the trunk.
Dimensions that feel right
Comfort comes from a few numbers. These ranges suit most adults and work for both backless and backed benches.
| Measurement | Typical range | Why it matters |
|---|---|---|
| Seat height | 430–460 mm | Feet flat, knees roughly level with hips |
| Seat depth | 380–450 mm | Deeper suits lounging, shallower suits eating |
| Back angle | 100–105° from seat | Upright enough to stand up easily |
| Slat gap | 5–8 mm | Drains rain and clears leaves |
| Seat overhang | Up to 150 mm past frame | More risks tipping when someone sits on the end |
BS EN 581 is the European standard covering the strength and stability of outdoor seating. You do not need to test to it at home, but its logic is worth borrowing: a seat should resist someone leaning back hard and sitting on one end. That means braced legs and short overhangs.
Timber and fixings that survive the weather
Outdoor timber is graded by natural durability under EN 350. Choose by weight, budget and how much maintenance you will realistically do.
| Timber | Heartwood durability | Workshop notes |
|---|---|---|
| Oak | Durable | Heavy and hard; pre-drill everything; tannins stain with plain steel |
| Sweet chestnut | Durable | Often UK-grown coppice; similar tannin behaviour to oak |
| Western red cedar | Durable | Light and stable but soft; dents easily; dust is a sensitiser |
| Larch | Moderately durable | Good value; resinous knots; can move as it dries |
| Treated softwood | Depends on treatment | Buy to Use Class 3 above ground, Use Class 4 for ground contact (BS 8417) |
For fixings, use stainless steel throughout: A2 inland, A4 near the coast or with oak and cedar. Through-bolt the frame with M8 coach bolts and large washers rather than relying on screws, and use an exterior D4-rated glue (EN 204) in the joints.
Exploded view: a half-lap leg frame
- Seat slats — five boards, 95 × 28 mm, screwed up from below through cleats
- Top rail — 70 × 45 mm, half-lapped across both legs
- Legs — 70 × 70 mm, notch cut to half the rail thickness
- Lower stretcher — half-lapped 120 mm above ground to brace racking
- M8 coach bolts — two per joint, with washers, plus D4 glue
A half-lap removes half the thickness from each part so they sit flush. It is forgiving for beginners, glues well and, once bolted, resists the sideways rocking that loosens screwed frames.
A safe build sequence
- Write a cut list and mark every part with a face and edge mark.
- Cut legs and rails, then mark all half-laps together so they match.
- Dry-assemble each frame with clamps and check the diagonals are equal.
- Glue, pre-drill and bolt the frames; leave the glue to cure overnight.
- Seal end grain on legs before fitting slats — it is the part that rots first.
- Fit slats with a spacer block, ease every edge, sand to 120 grit and oil.
Wear eye protection and ear defenders at the mitre saw, clamp the work rather than holding it, and use an FFP3 mask when cutting cedar or sanding hardwood.
Cutting notes: slats from standard lengths
A 2.4 m board gives two 1,195 mm slats after saw kerf and trimming the ends square. Five slats need three boards, which leaves one spare length for cleats. Always cut away a few millimetres of factory end, which is often split.
Cutting notes: getting half-laps snug
Set the saw depth on a scrap first, then make several kerfs across the waste and knock them out with a chisel. Pare to the line. A joint that needs a light tap with a mallet is right; one that needs a hammer will split the leg.
- Mitre saw
- Drill-driver
- Chisel
- Clamps
- Combination square
- Random orbit sander
Realistic scope
For a first backless bench, plan two weekends: the first for cutting and frame assembly, the second for slats and finishing. A storage bench adds a day for the box and lid. Penetrating oil needs a fresh coat each spring; that ten-minute job is what keeps the bench out of the skip.